
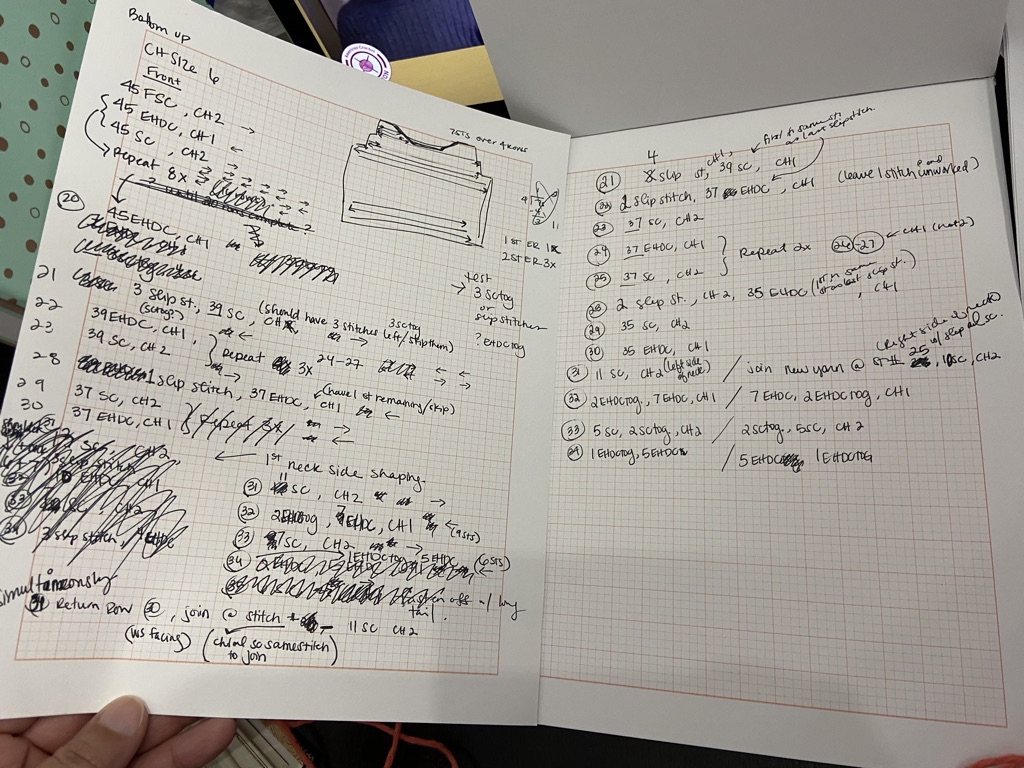
The time has come! I think I’ve done everything I’ve needed up front to actually create (and write!) the pattern. Ironically enough, even though I am showing my progress on a electronic format, I still love using the good old-fashioned paper and pencil method for initial drafts of anything.
I was so excited in getting started with my project, that I initially only wrote the instructions for a child’s size 8. I chose this size since I have a little model at home to test my product. Alas, in my excitement, I typed up not only the incorrect number of rows for the length of the panel, but used the stitch count for size 6 and did not realize it until after I crocheted it. I’m not sure where the erroneous row number came from or what caused the mixup, but admittedly, it was perhaps a late night session. It was entirely too short. To be accurate, it was crop-top length short which was clearly not the intended design.
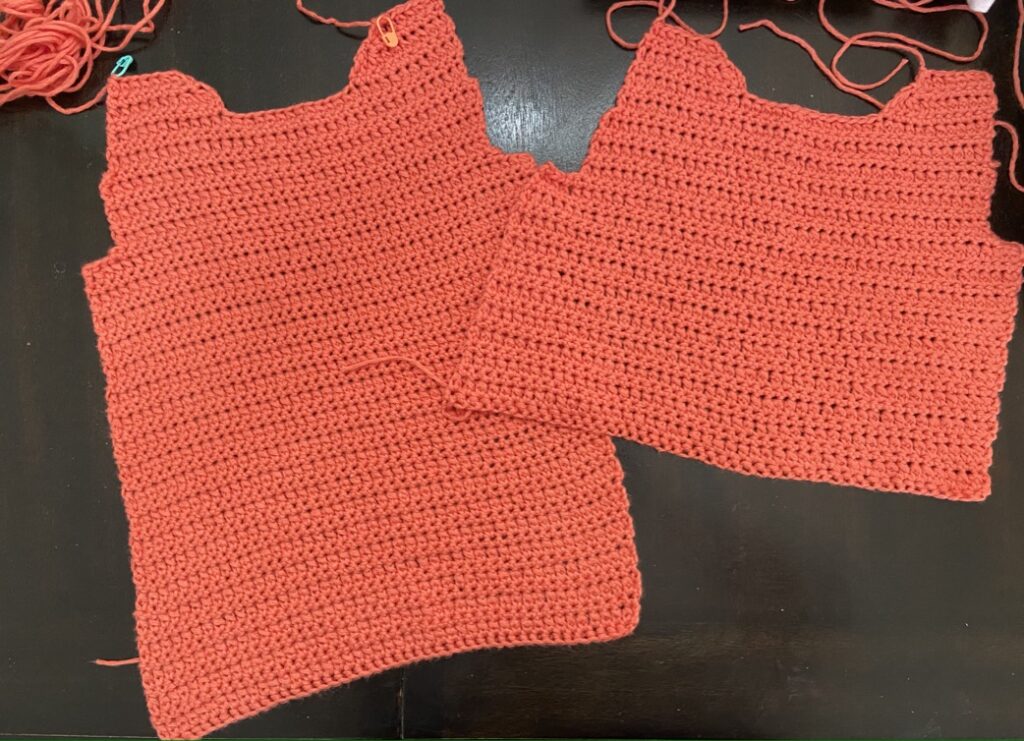
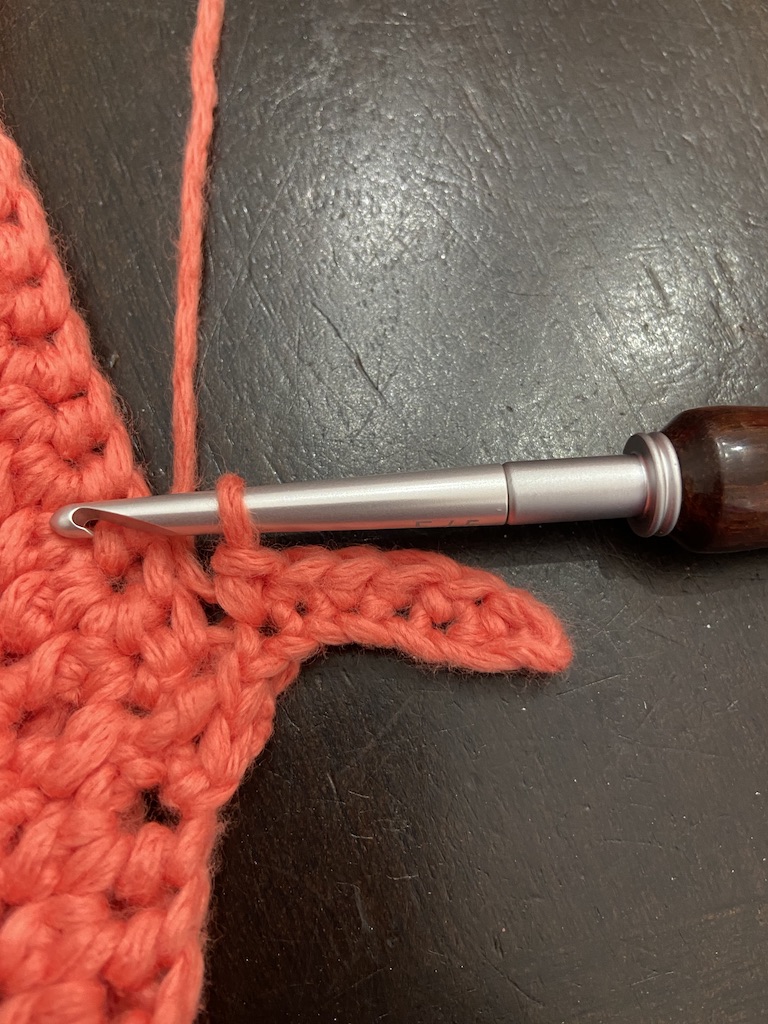
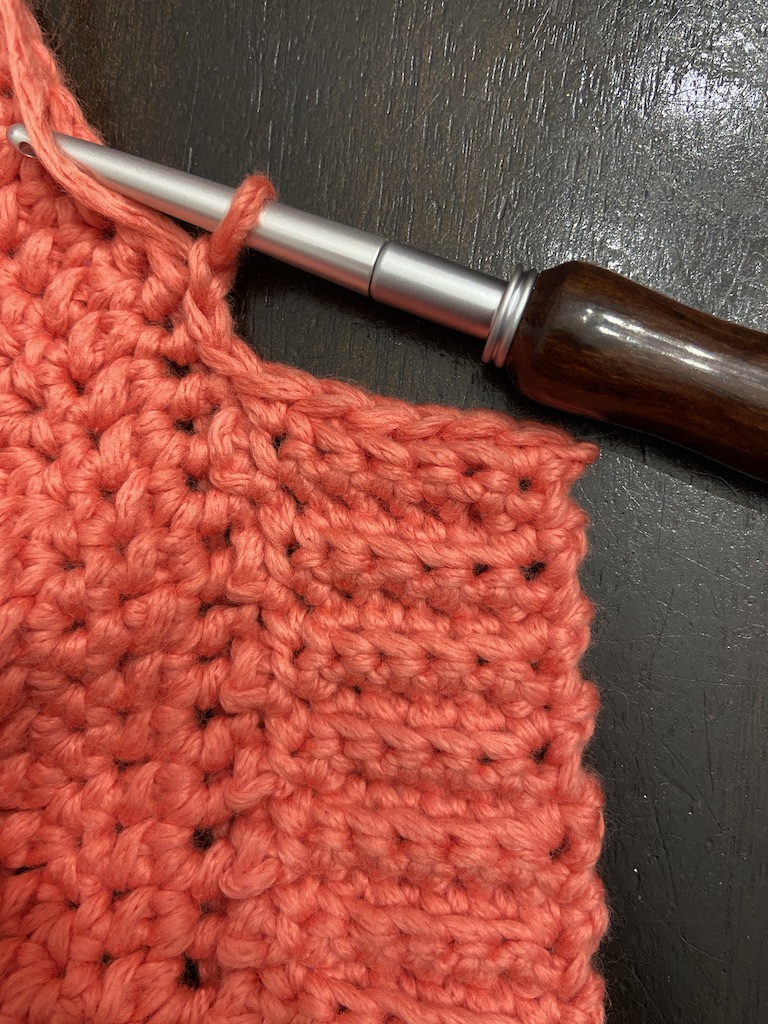
After that fix, things seem to move along fairly smoothly and I was able to create the rest of the panels without a major hiccup. I chose a a step ladder style for my decreases in the sleeve cap and for shaping the armholes. However, for the neckline, I opted to decrease by joining two stitches together in order to avoid a boxy look. You’ll notice in my pictures that when I created the split panel for the button band section, the opening is flipped from the finished panel. I realized, 8 rows into the split panel, that I had crocheted it without considering which side the button flap goes. Interestingly, tradition dictates that women button bands flap right over left (buttons are on her left side), and left over right for men (buttons are on his right side). However, we can cover why that interesting detail exists another time. Seeing as “my client” was my daughter, I decided to frog (crochet term for undoing stitches) my rows back to where I started the split, and switched the loop placement for each side.


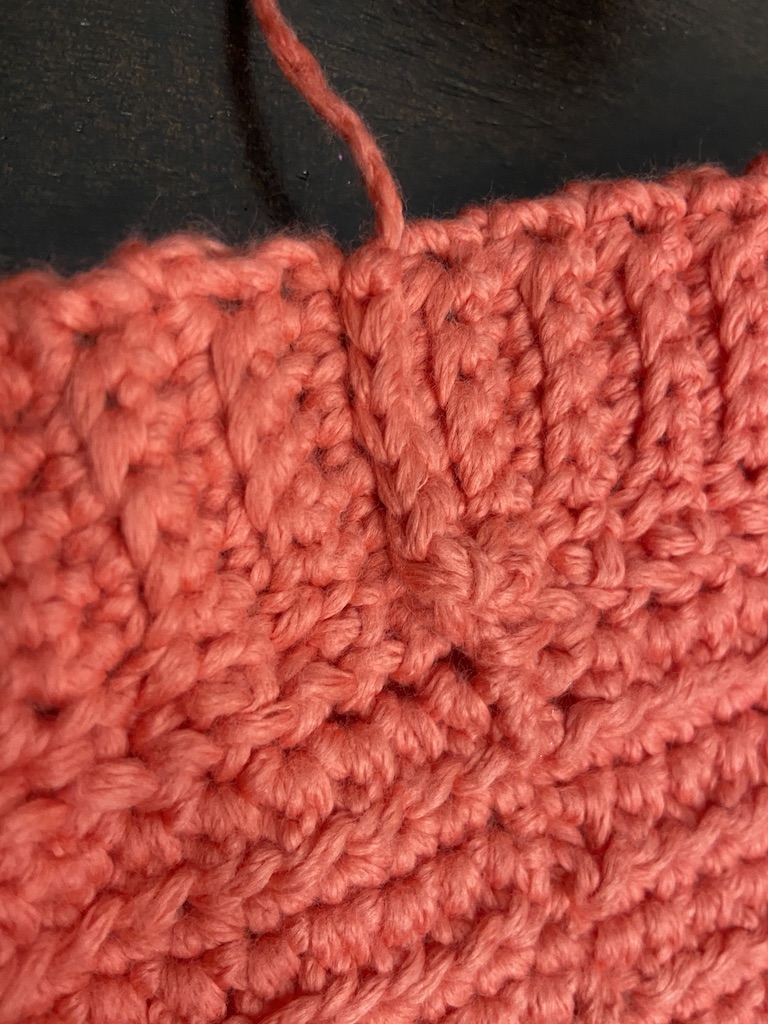
Lastly, I crocheted the ribbed band along the bottom. This part of the pattern is only seemingly the most complex stitch sequence of the whole thing. Once you do the first few rows, you realize it’s actually really simple pattern. However, the written version can seem a bit long and potentially confusing to a new crocheter.


During this point in my journey, I was in communication with Suzi Whitford, from Start a Mom Blog, after seeing her as a recommended resource for new bloggers several times. Her journey in the blogging world, from her experience in growing her personal blog to converting it into a business that helps others create their own profitable blogging sites, is inspiring. A mentor actively engaged in the learning process for someone inexperienced was an important element for me in researching and selecting my go-to source for my directed project. Her course walks through all the steps to build a blog from scratch in a simple, easy to understand (and follow) format. I expect to continue to use her Blog by Number course for reference and guidance for the blog aspect of my directed project.
References
Lopez, N.K. (n.d.) Oja de otoño tejida [Photograph]. Unsplash. https://unsplash.com/photos/BjGpLKlDKJA
Mohr, I. (2016). Determinants of Blog Success. Journal of Applied Business & Economics, 18(1), 25-31.
Whitford, S. (2020). Blog by number signature course: How to start a successful blog [Online Course]. Start a Mom Blog. https://www.startamomblog.com/products